Where do I find my Meta details?
Meta needs two things: the dataset's Pixel ID, and a Conversions API access token so cPixel can send purchases from our servers as well as the browser.
- Pixel ID 15 digits, e.g. 918072151473635
- Access token a long string beginning EAA…
Screenshots are from a live account. Account names, IDs, tokens and email addresses are blanked out — yours will show real values in those places.
-
Open Events Manager and find your dataset
Events Manager lists every dataset on the account. A web dataset — the kind a Shopify store uses — has a monitor icon; datasets with a phone icon belong to apps and are not what you want here.
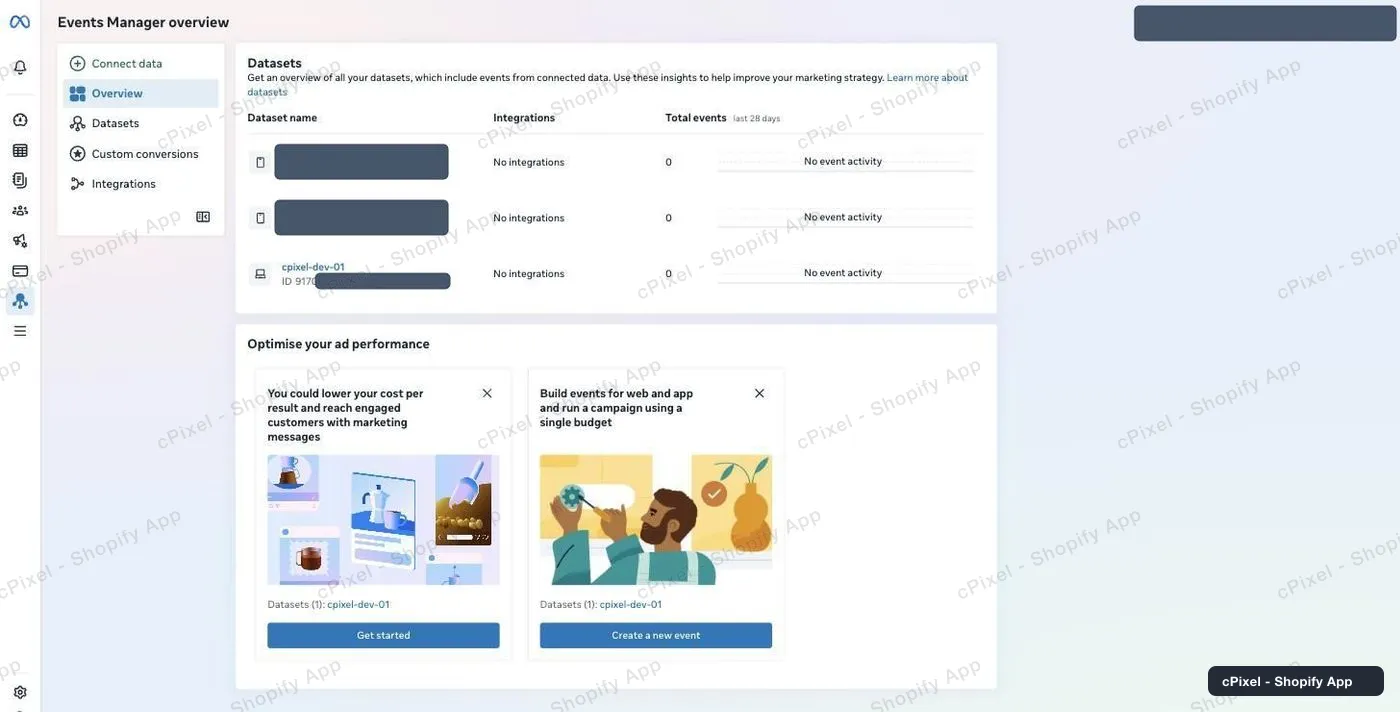
The overview lists each dataset with its ID underneath the name. -
Select the dataset for this store
Click it in the left-hand list. If you have never sent an event, Meta shows “Your pixel hasn't received any activity” — that is expected, and it clears once cPixel starts sending.
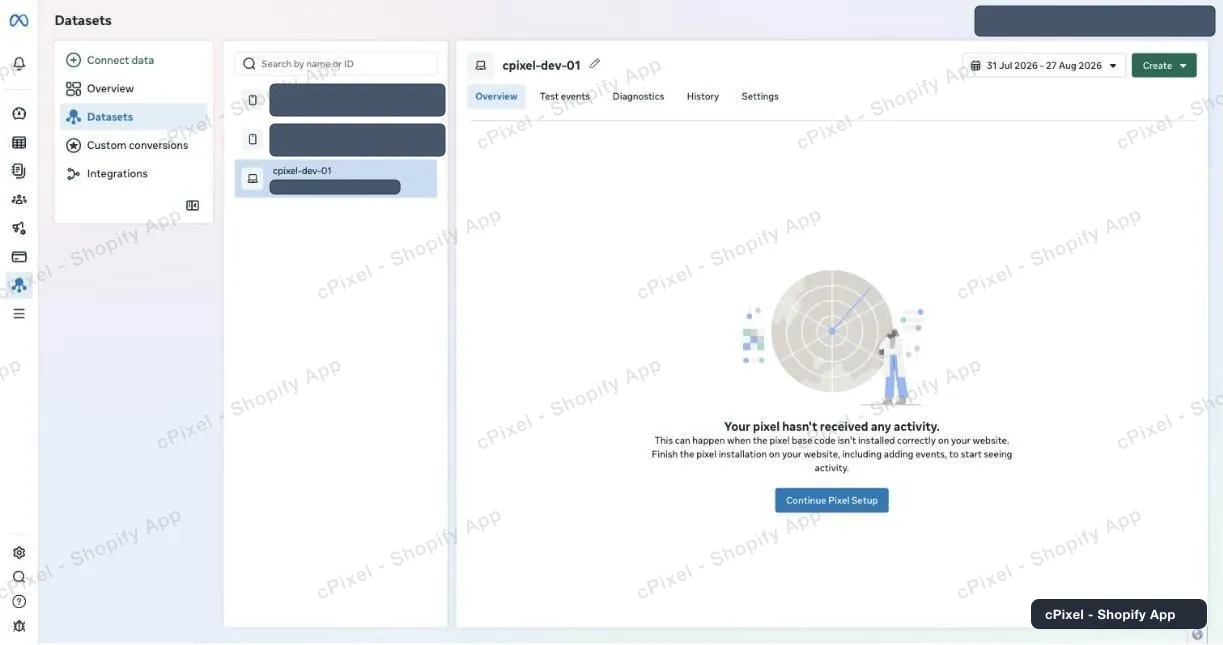
A brand-new dataset, selected and waiting for its first event. -
Open Settings and copy the Pixel ID
The Settings tab shows it under Details, labelled Pixel ID. It is about 15 digits. Meta calls this a “dataset” everywhere else in the product, but this screen still says Pixel ID — same number, paste it into cPixel's Pixel ID field.
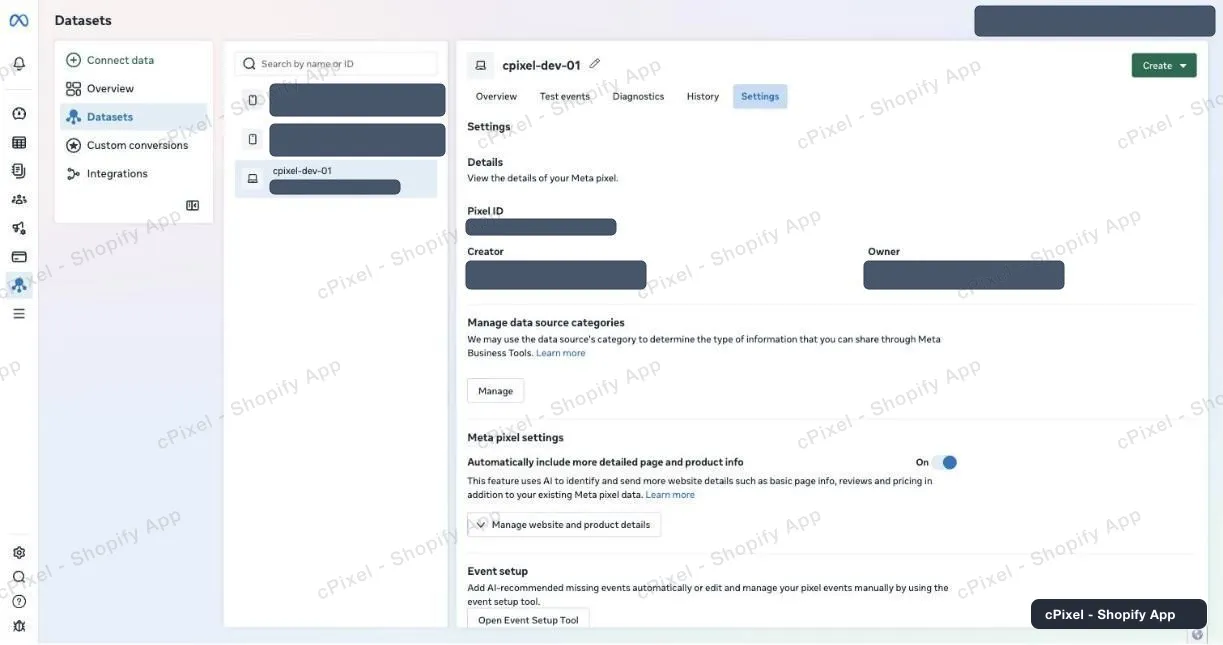
Settings → Details → Pixel ID. Creator and Owner are blanked here; yours will show your name. -
Scroll down to Conversions API
Keep scrolling the Settings tab past Cookie usage, Data controls and Automatic advanced matching. Under Conversions API pick Set up direct integration — not “Set up manually”, which only opens Meta's written guide. Then choose Set up without Dataset Quality API. See the warning below before you pick the “Recommended” one instead.
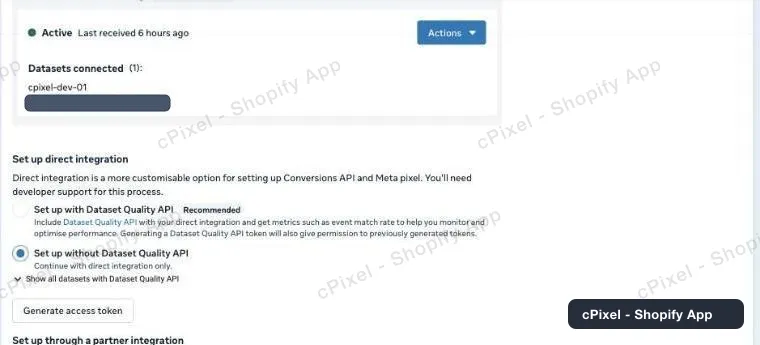
Direct integration, with the reversible option selected. A dataset that is already sending shows Active above it. -
Generate the token, and copy it straight away
Click Generate access token. Meta asks which datasets the token may send for — tick this store's — and then prints the token with the note “Copy and save this token somewhere safe. It won't be stored by Facebook.” That is literal: close the panel without copying and the token is gone and you generate another. Paste it and the Pixel ID into cPixel.
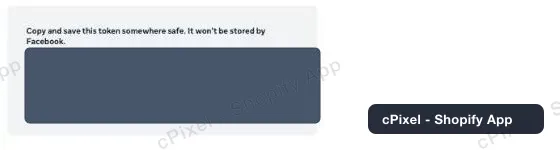
Shown once. Meta keeps no copy you can come back for.
“Set up with Dataset Quality API” is a one-way door
It is the option Meta marks Recommended, and picking it opens a dialog that says: *“once a dataset has been configured for direct integration with the Quality API, the option to opt out will not currently be available.”* There is no undo, on that dataset, ever. What you get for it is event-match-rate metrics inside Meta's own UI — which cPixel neither needs nor reads, because the live event stream already shows you the match parameters on every send. Choose “Set up without Dataset Quality API”. The token it produces is an ordinary Conversions API token and works identically.
Good to know
- If “Generate access token” is greyed out, hovering it says “Missing prerequisite — You must be an admin or developer for this business portfolio to create an access token.” The dataset is not in a portfolio you administer — a dataset created under a personal ad account does this. Ask a portfolio admin, or move the dataset under Business settings → Data sources → Datasets.
- Two datasets can share a name. If you have opened the same store's “dataset” twice and one could mint a token while the other could not, they were different datasets — check the ID, not the name.
- Tokens don't expire on a timer, but they stop working the moment the system user behind them loses access to the dataset. Meta reports that as a permission error, not as a bad token.
- Browser and server purchases share one event ID, so Meta keeps a single conversion. There is nothing to configure for deduplication.
- A token that works on another dataset is still rejected here. Tokens are scoped to the dataset they were minted against.
Server-side API token Used by cPixel today
You already have it — the access token from steps 4 and 5 is the Conversions API credential, and cPixel sends Meta purchases server-side with it today. Nothing further to collect.
Checking it worked
Start a live session in cPixel and browse your store. Every Meta send shows its response and which match parameters were present, so you can see a rejected token immediately instead of waiting for reports.
Meta's own documentation
What cPixel is
cPixel is a Shopify app that tracks your store's events and reports them to your ad platforms — from the shopper's browser and from our servers, through each platform's Conversions API. Browser tracking is free and unmetered on every plan; server-side sending is what the paid tiers add, and it is what keeps conversions arriving when a browser blocks the pixel, drops the tag, or never runs it at all.
- One event ID across both legs. Every purchase is sent with the same deterministic id from the browser and from the server, so the platform keeps one conversion instead of counting it twice.
- A live view of every server send. Open a debug session and watch each event as it goes out: the payload, the platform's response, whether it deduplicated, and exactly which match parameters were present. It is on the free plan too — you can see what cPixel sends before you pay for anything.
- Every platform on every plan. Plans differ in one field only: how many orders a month are included. No feature, platform or account limit is tied to price, and up to 10 accounts per platform are available on all of them.
- Nothing to install into your theme. Tracking rides Shopify's own web pixel and app-embed surfaces — no script tags, no theme file edits, and a clean uninstall.
Priced on monthly orders, nothing else — not traffic, not your Shopify plan, not the number of platforms you connect. Free installs get 7 days with no cap at all, and on the paid tiers server-side sending is never switched off for going over.