Where do I find my OpenAI Ads details?
OpenAI Ads needs a Pixel ID and a Conversions API key. cPixel sends the purchase from the server, and — with the theme app embed on — the storefront browsing events from a browser tag as well.
- Pixel ID 22 letters and digits, e.g. CxHP7ickCLR1SJhZKZ61Hg
- Conversions API key begins sk-svcacct-…
Screenshots are from a live account. Account names, IDs, tokens and email addresses are blanked out — yours will show real values in those places.
-
Open Tools → Conversions
Expand Tools in the left rail and choose Conversions. Everything below is on that one page.
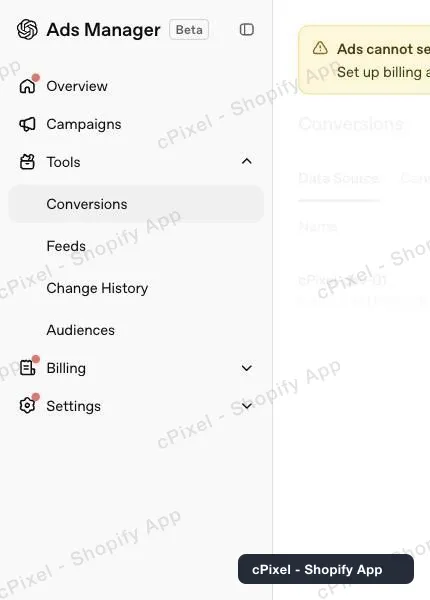
Tools → Conversions in the Ads Manager rail. -
Copy the Pixel ID from the Data Source tab
The Data Source tab lists your data sources with the ID printed in grey under each name. That grey string is the Pixel ID cPixel wants — not the ad account id from the address bar.
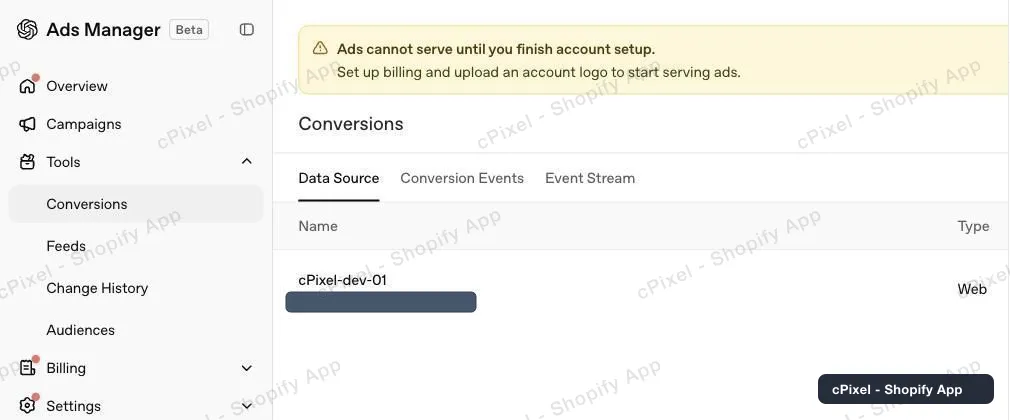
The Pixel ID sits under the data source name. -
Open Conversion keys
Click the key icon in the page header, beside Warnings. The panel lists existing keys, each shown masked — OpenAI will not reveal an old key again, so if you did not save one you need a new one.
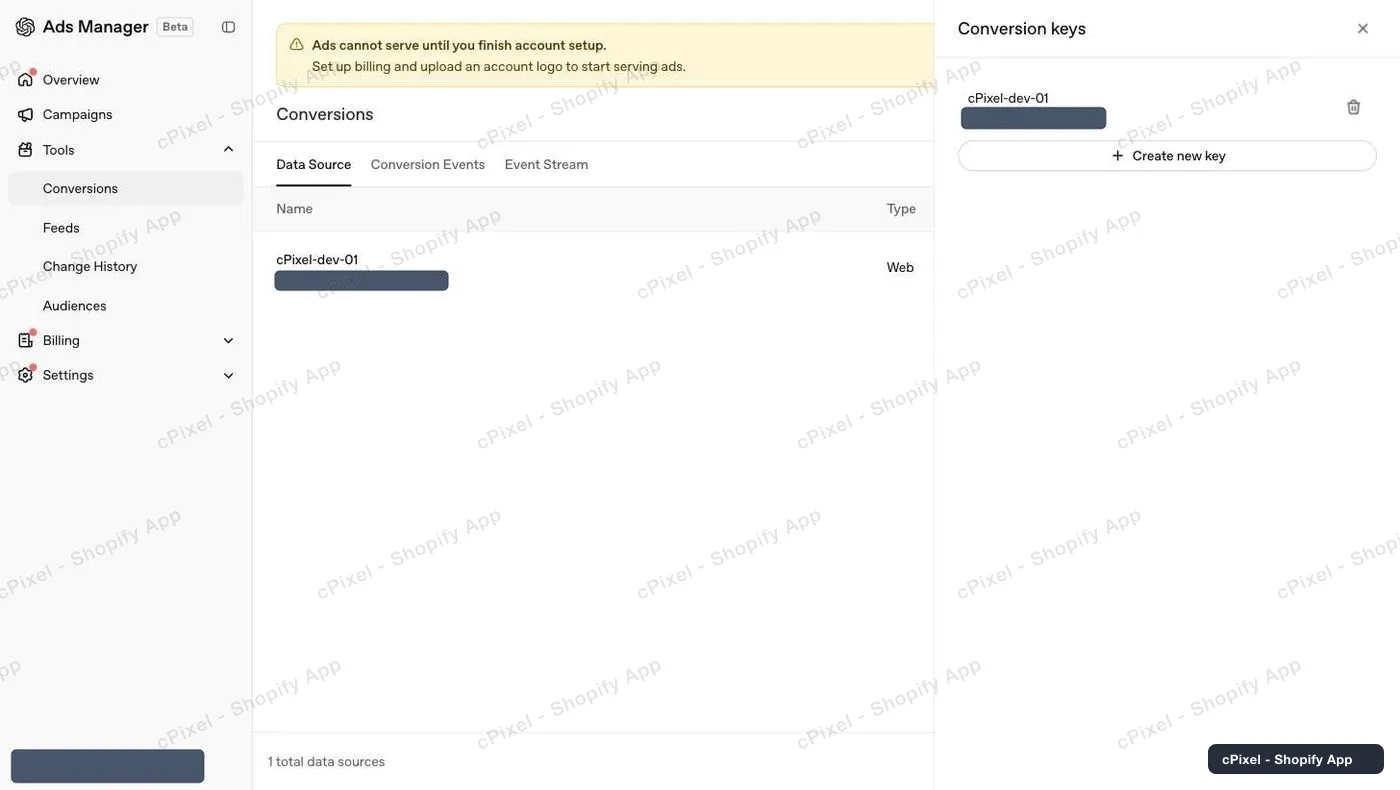
Existing keys are masked to their first and last characters. -
Create a key and copy it immediately
Create new key, give it a name, and copy the value from the dialog. It is shown once. Paste it and the Pixel ID into cPixel.
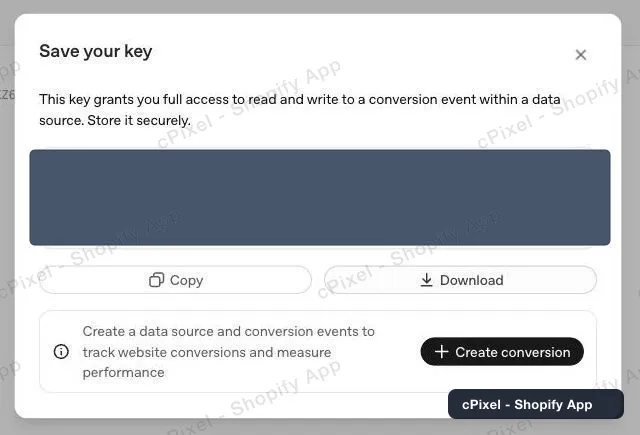
Copy this now — the dialog does not come back.
“Ads cannot serve until you finish account setup” is not blocking you
A new OpenAI Ads account shows that banner until billing and a logo are set up. It gates ad delivery, not the Conversions API — you can create the key and connect cPixel while it is showing.
Good to know
- Checkouts and purchases always come from the Conversions API, never the browser tag: a theme cannot run on Shopify's checkout or thank-you page, so those two events would otherwise reach OpenAI from nothing at all. Turning the cPixel theme app embed on adds page views, product views and add-to-carts from the storefront, which the server leg never sends — so the two never report the same event twice.
- If a shopper's browser can't load the OpenAI tag at all — an ad blocker, a filtered network — cPixel sends that page view or add-to-cart from our servers instead. Only then: an event the tag did send is never re-sent, so nothing is counted twice. cPixel can't tell when OpenAI itself refuses an event, because browser tags send without reading a reply.
- OpenAI publishes no match-quality score — there is no Events Manager equivalent, no diagnostics page and no number to fetch, for cPixel or for any other app. cPixel's Quality page measures it locally instead: for each event it shows which matching identifiers actually went on the wire and which were missing, so you can see what OpenAI had to match on.
- OpenAI matches a sale to an ad mainly by the click reference it puts on your landing-page URL — their own guidance ranks it above hashed email. With the theme app embed on, OpenAI's tag stores that reference in a first-party cookie on your domain, and cPixel reads it from there as well as from the URL, so it survives a shopper clearing storage or moving between www and your bare domain.
- Event timestamps must be within the last 7 days, which is well inside cPixel's retry window.
- Deleting a key from this panel revokes it immediately, so rotate by creating the new key first.
Server-side API token Used by cPixel today
You already have it — the Conversions API key from step 4 is the server-side credential, and it is what carries the purchase. The browser tag needs no credential: the Pixel ID alone is enough, and it fires only on the storefront, only while the cPixel app embed is switched on in your theme. The key also carries the storefront events cPixel re-sends when a shopper's browser cannot load the tag, so without it those are lost too.
Checking it worked
Start a live session in cPixel and place a test order. The OpenAI send shows its response, and the Event Stream tab in Ads Manager lists what arrived. Storefront page views arrive there too once the app embed is on — but only from the storefront, so they will not appear for checkout pages.
OpenAI Ads's own documentation
What cPixel is
cPixel is a Shopify app that tracks your store's events and reports them to your ad platforms — from the shopper's browser and from our servers, through each platform's Conversions API. Browser tracking is free and unmetered on every plan; server-side sending is what the paid tiers add, and it is what keeps conversions arriving when a browser blocks the pixel, drops the tag, or never runs it at all.
- One event ID across both legs. Every purchase is sent with the same deterministic id from the browser and from the server, so the platform keeps one conversion instead of counting it twice.
- A live view of every server send. Open a debug session and watch each event as it goes out: the payload, the platform's response, whether it deduplicated, and exactly which match parameters were present. It is on the free plan too — you can see what cPixel sends before you pay for anything.
- Every platform on every plan. Plans differ in one field only: how many orders a month are included. No feature, platform or account limit is tied to price, and up to 10 accounts per platform are available on all of them.
- Nothing to install into your theme. Tracking rides Shopify's own web pixel and app-embed surfaces — no script tags, no theme file edits, and a clean uninstall.
Priced on monthly orders, nothing else — not traffic, not your Shopify plan, not the number of platforms you connect. Free installs get 7 days with no cap at all, and on the paid tiers server-side sending is never switched off for going over.